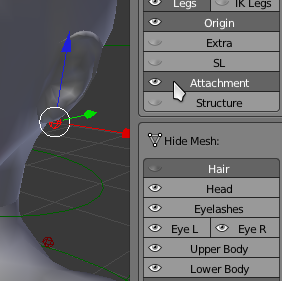
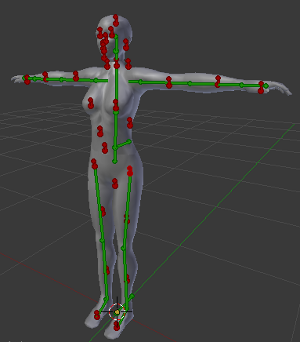
 The attachment points on the avatar (that you would normally attach prims to in SL) are also animatable. In Avastar they are treated as an extra set of bones. By default they are not visible but can be shown easily by enabling the Attachment layer. With custom bone shapes on they appear as small red spheres. Note that quite a few of them will be within the body of the avatar. Either setting the armature to x-ray or the Control Style to Stick Shapes will make them much more visible.
 If you animate an attachment point then anything that is attached to that point during the animation gets animated along with the point. Its not the things attached to the points that are moving like hair, glasses and clothes, but the attachment point itself.
You will need to export the animation in the anim format and upload with a suitable viewer.
N.B. – Unlike rotations on the usual bones, no automatic resetting of the attachment point happens. This means that the attachment point will retain whatever rotation it last had when the animation stopped. The only way to reset them is either to animate them again or to log out and back in to SL. Two simple fixes: create a low priority one-frame looped animation that sets all the attachment points to their default rotation. This can be set to run in the background and will act as a reset when other animations stop. The other fix is to have a zero rotation frame at the end of an animation (and after the loop region) so that when the animation stops the attachment points return to where they should be.
Attachment Points and Mesh
It’s possible to treat the animation points as extra bones and weight them to a custom mesh, but there is a problem. Collada 1.4 and the SL mesh importer doesn’t cope with bone names that have a space in them and unfortunately most of the attachment points are two word names.
Currently Avastar’s bone weighting mechanism doesn’t create weights for attachment points so this will have to be done by hand using the usual mesh weighting tools.